How to make Sub-Irrigated-Planters
(A.K.A. homemade Earthboxes)
You'll need two buckets for each planter. I used my old stand-by Home Depot buckets.
Some people would take issue with these buckets not being food-grade, but I don't think that is a problem. Are ceramic pots food-grade? Are plastic plant pots food grade? Nobody would think twice about planting some lettuce or tomatoes in a planter they pick up from Wal-Mart, so I dont think my buckets are wrong for growing in. If you disagree, you can find some food grade buckets at a restaurant supply place. Knock yourself out.
There is only about 4-5 inches of reservoir space (the empty space between the top and bottom bucket) in my buckets, so my wicking cups (don't worry, you'll figure out what those are later) will be small, and in my hot, dry environment, I want maximum water uptake, so I will drill two large holes. I chose the size of my hole saw based on the size of my cups, making sure it was just smaller than the rim of the cup.
Click on pics for larger view.
Drill your large holes.

Drill one small hole for your watering pipe.
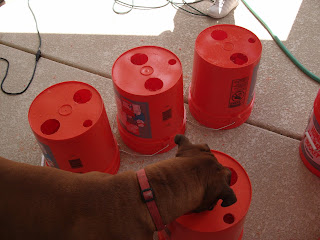
Lots of little holes for air circulation.
(I counted 157 holes in one bucket. That might have been overkill.)
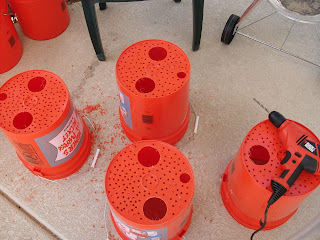
Place your watering pipe.
I used old garden hose that was a little smaller than my hole, so I pushed it through a piece of duct tape to prevent excess soil from leaching down into the reservior. Another strip of duct tape will hold it place until it is filled with soil.
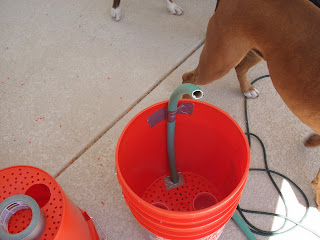
Slice four or five vertical slits in your wicking cup.
The cup acts as wick, drawing water from the reservior up to the roots of the plant.
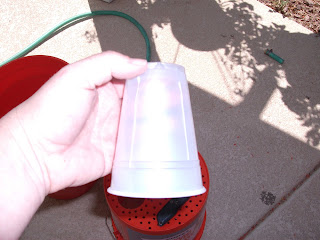
The cups go in the large holes.
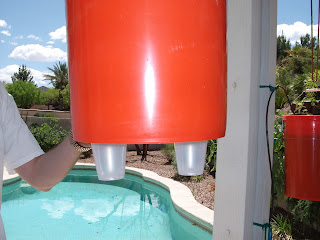
Drill drain holes in the other bucket.
This is the bucket you haven't put any holes in yet! Put two or three around the sides.
These should be about 1/4" from the bottom of the top bucket, so that the excess water drains before it reaches the top bucket and there is always air between the top and bottom buckets. Your plants will drown and die if there is not air circulation here.
Put the two buckets together.
Wet some potting soil in a separate pail.

Fill the cups with the wet soil.
Fill with potting soil.
Add a ring of fertilizer around the perimiter.
I used about one 1/2 cup of 5-10-10. I'll supplement with Miracle Grow if needed during the growing season.

Cover with black plastic and secure with string tied around the bucket.
Cut an X in the center for your plant.
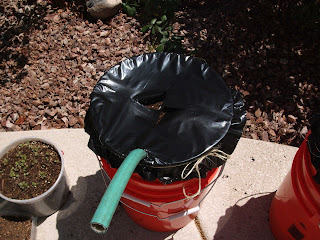
Plant your plant in the center.

Keep the reservoir filled with water,
and watch the magic happen!
You can set up an automated systen to make it even more effortless. I will use 1/4" line to tap into the existing drip system that serves the rest of the landscaping.


